 Clearwater Window
 Waterfront Living Means Different Rules for Windows
Island Estates sits right on the water in Clearwater, and that changes what a window has to survive day to day. A window that performs fine three or four miles inland can fail early on a canal-front or open-water lot because it's dealing with a harsher mix of conditions: constant salt-laden air, reflected sun off the water, wind-driven rain that hits the glass sideways instead of straight down, and the occasional direct hit from a tropical system. If you own a home here, your windows are working harder than most, whether you've noticed it or not.
This page is specifically about window installation for homes in this waterfront setting — not a general overview of windows in Clearwater. The products, the installation details, and the things that go wrong are different enough on the water that they deserve their own explanation.
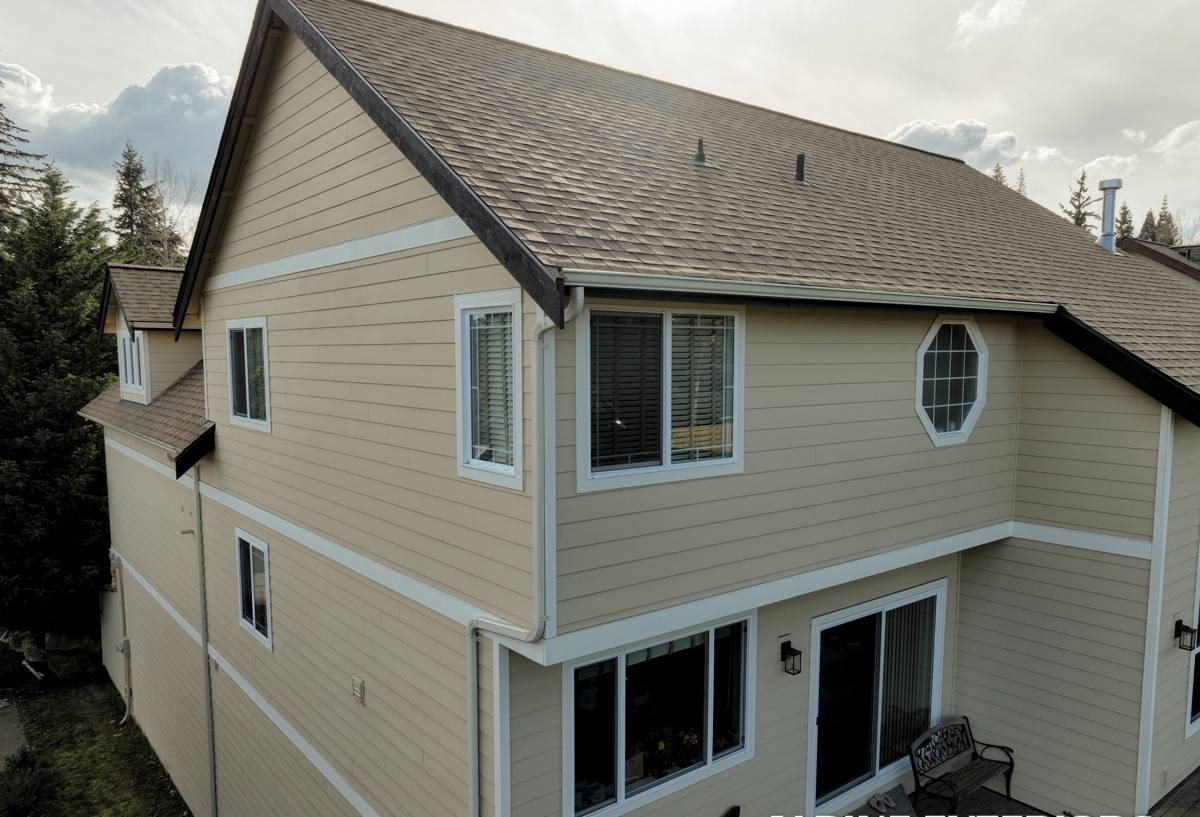
What Waterfront Exposure Actually Does to a Window
Salt Air and Corrosion
Airborne salt doesn't need direct spray to do damage. It settles on frames, hardware, and fasteners as a fine film, and over time it accelerates corrosion on anything that isn't rated for a marine or near-coastal environment. Cheaper hardware, uncoated screws, and some aluminum alloys will pit, streak, or seize up years before they would in a non-coastal neighborhood. This shows up first as stiff locks, discolored frames, and streaking below the corners of the window — small signs that are easy to dismiss until the frame itself starts to degrade.
UV Exposure
Florida sun is hard on building materials everywhere, but a waterfront lot often has less shade and more reflected glare off open water, which increases the total UV load on window frames, seals, and any vinyl or composite components. UV breaks down sealants and can cause some plastics and lower-grade vinyl to become brittle and discolored well before the glass itself shows any wear.
Wind-Driven Rain
Standard rain falls down. Wind-driven rain during storms and even routine summer squalls off the water gets pushed sideways and upward under pressure, which means it can find its way through gaps that would never leak in a calm rain. This is one of the most common causes of water intrusion around windows on waterfront homes, and it's almost always a flashing or sealing problem rather than a problem with the glass itself.
Wind Load
Being close to open water generally means less wind buffering from surrounding structures and trees compared to a more built-up inland block. Windows here need to be rated for the wind pressures that apply to your specific site, not just "whatever the last house down the street had installed."
What a Correct Installation Involves
Window installation on a waterfront property is not just "remove old window, set new window, caulk the edges." A correct job addresses the whole opening, not just the unit itself.
Product Rating Matched to the Site
The window needs a wind pressure and impact rating appropriate to its exposure and height on the house. A window facing open water or a wide canal is typically dealing with different pressures than one on a sheltered side of the same house, and the correct product for each opening should reflect that.
Flashing and Waterproofing Before the Window Ever Goes In
Most leaks around replacement windows trace back to the opening itself, not the window. Correct installation means properly flashing the rough opening, sealing the sill pan so any water that does get past the window drains back outside instead of into the wall, and using sealants and tapes rated for sustained UV and salt exposure — not general-purpose caulk that will fail in a season or two.
Fastening Into Sound Structure
Coastal-grade fasteners matter here. Corrosion-resistant screws set into solid framing, with attachment patterns that meet the window's tested design pressure, are what actually keep a window in place during high wind — not the bead of sealant around the edge.
Interior and Exterior Finish Work
The trim, sill, and interior finish need to be sealed and finished in a way that doesn't trap moisture against wood or drywall. On a humid waterfront lot, a poorly finished interior return can hold moisture long after a storm has passed and lead to problems that show up as mold or soft trim months later.
Impact-Rated vs. Standard Windows in This Setting
Homeowners near the water often ask whether they really need impact-rated windows versus standard windows with separate shutters. Both can meet code when properly specified, but they behave differently day to day, which matters more on a waterfront lot than an inland one.
| Factor | Impact-Rated Windows | Standard Windows + Shutters |
|---|---|---|
| Storm prep | No action needed before a storm | Shutters must be deployed every time |
| Daily use | Full light and view at all times | Full light and view, but shutters block both when closed |
| Upfront cost | Generally higher per opening | Generally lower per opening, plus shutter cost |
| Long-term upkeep | Glass and frame maintenance only | Shutter tracks, hardware, and motors (if powered) need upkeep too |
| Everyday noise/UV reduction | Laminated glass reduces both continuously | No benefit unless shutters are closed |
Neither option is automatically "better" — it depends on your budget, how often you're home to prep for storms, and how much you value not having to think about it. What matters most is that whichever route you choose is installed correctly and rated for your specific exposure.
Frame Material Considerations Near the Water
Frame material choice matters more here than it does a few miles inland, mainly because of how each material handles salt air and sustained UV over years, not just months.
- Vinyl: Doesn't corrode, handles salt air well, but quality varies a lot between manufacturers — thinner, lower-grade vinyl can warp or discolor under sustained coastal sun.
- Aluminum: Strong and slim-profile, but needs a marine-grade finish or coating; uncoated or low-grade aluminum will corrode faster this close to the water.
- Fiberglass: Handles temperature swings and UV well with minimal expansion/contraction, generally a strong option for waterfront exposure, typically at a higher price point.
- Wood and wood-clad: Requires the most upkeep in a humid, salt-air environment and is a harder sell directly on the water unless maintenance is planned for closely.
We'll walk through which materials make sense for your specific openings — a window facing open water doesn't always need the same spec as one on a shaded, sheltered side of the same house.
Our Installation Process
- On-site assessment: We look at each opening individually — exposure, current condition, signs of past water intrusion, and existing structure behind the walls.
- Product and rating selection: We match window products and design pressure ratings to each opening's actual exposure, not a single spec for the whole house.
- Permitting: We handle the permit application and inspection scheduling required for window work in Clearwater and Pinellas County.
- Removal and opening prep: Old units come out, and the rough opening is inspected and repaired if there's any hidden rot, corrosion, or old water damage before anything new goes in.
- Flashing and sill pan installation: The opening is waterproofed correctly before the window is set — this step is what actually prevents future leaks.
- Window installation and fastening: Units are set plumb and level, fastened per the manufacturer's tested installation instructions, and sealed with coastal-rated materials.
- Interior and exterior finish: Trim, sill, and exterior finish work is completed and sealed against moisture intrusion.
- Final inspection: We coordinate the final inspection and walk the job with you before calling it done.
Permits and Code Requirements in Clearwater and Pinellas County
Window replacement in Clearwater requires a permit, and the products used need to meet the wind pressure and impact requirements that apply to your specific location and structure. On a waterfront lot in Island Estates, exposure conditions can push the required rating higher than what's typical a few blocks further inland, so it's worth confirming the correct spec for your address rather than assuming a standard product will pass inspection. If your property is part of an HOA or condo association, there may also be additional approval steps for exterior appearance — we can help you navigate both the municipal permit and any association requirements so nothing holds up the job.
Signs It's Time to Replace, Not Just Repair
- Frames that feel soft, or trim that stays damp after rain has stopped
- Visible corrosion or pitting on frames, tracks, or hardware
- Locks or cranks that have become stiff or difficult to operate
- Fogging or moisture between panes on double-glazed units (a sign the seal has failed)
- Drafts or whistling during windy conditions, even with the window fully closed
- Visible water staining on interior walls or sills near the window after storms
- Noticeably higher indoor temperatures near windows on sunny days, suggesting failed seals or worn glazing
Why Local Experience on Island Estates Actually Matters
A crew that already works this specific stretch of waterfront in Clearwater knows what to expect before they even open the truck: the exposure differences between a canal-front lot and a more sheltered interior lot, the kind of hardware that holds up here versus what fails early, and how Pinellas County's permitting and inspection process actually runs in practice. That familiarity shows up in fewer surprises during the job and fewer callbacks after it — the flashing gets done right the first time because it's been done right on dozens of similar homes nearby, not guessed at from a general playbook written for a different climate.
If you're weighing whether your current windows need attention, or you're planning ahead for a full replacement, we're happy to take a look and give you a straight answer — including telling you if a repair is genuinely enough and a full replacement isn't necessary yet. Reach out for a free, no-pressure estimate using the form below.