 Clearwater Window
 Safety Harbor sits along Old Tampa Bay in Pinellas County, and a roof here earns its keep. It takes hurricane-force wind gusts during storm season, bakes under some of the most intense year-round UV exposure in the country, absorbs wind-driven rain off the bay, and — for the many homes close to the water — deals with a steady dose of salt air on top of all of it. New roof installation in Safety Harbor isn't just a smaller version of a job done anywhere else in the Tampa Bay area; the details that get skipped on an easier inland roof are the same details that fail first here. This page covers what a Safety Harbor home actually needs from a new roof, what a correct installation involves, and how our process works from first look to final walk-through.
Why Safety Harbor Roofs Face Tougher Conditions
Four factors drive most of the roof failures and premature wear we see in this area, and they don't act alone — they compound each other over the life of a roof.
Hurricane-Force Winds
Pinellas County sits in an active hurricane corridor, and even storms that don't make a direct hit can bring sustained winds and gusts strong enough to lift poorly fastened shingles, tear at ridge caps, or peel back underlayment at an exposed edge. A roof that's marginal on fastening pattern or edge detail may look fine for years until one storm finds the weak point.
Intense Year-Round UV
Florida sun doesn't take an off-season. Constant UV exposure breaks down asphalt shingle oils faster than in most of the country, dries out sealants, and accelerates granule loss. A roofing material and installation not suited to this level of sun exposure will show cracking, brittleness, and color fade well ahead of its rated service life.
Wind-Driven Rain
Storm rain here rarely falls straight down. Wind pushes it sideways and up under laps, ridge caps, and flashing details that stay dry in a calmer rain event elsewhere. A roof built to a bare minimum-code standard is more likely to leak at valleys, skylights, and roof-to-wall transitions than one installed with wind-driven rain specifically in mind.
Salt Air
Safety Harbor's location on Old Tampa Bay means many homes, especially those closer to the water, deal with airborne salt that accelerates corrosion on anything metal — fasteners, flashing, vent stacks, and gutter hardware. A fastener spec that's perfectly fine well inland can start rusting within a few years for a home closer to the bay if it wasn't chosen with that exposure in mind.
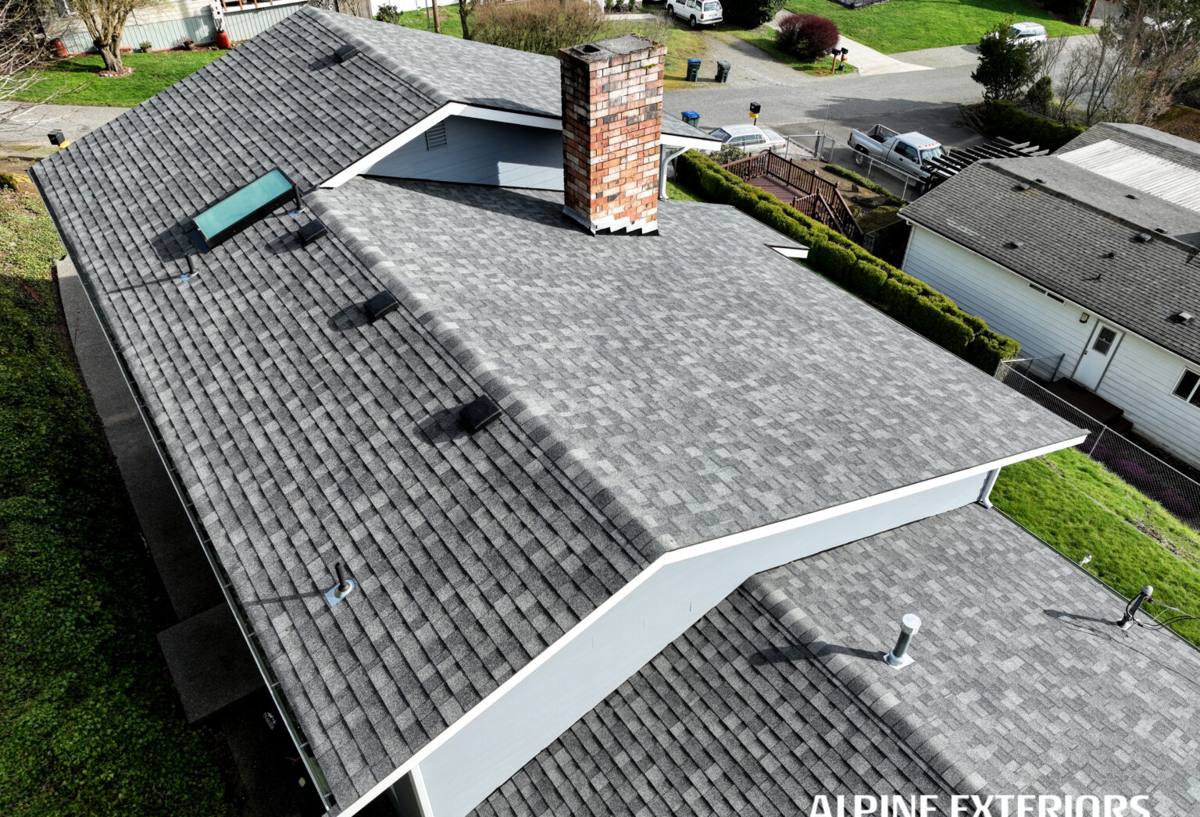
Signs a Safety Harbor Home Needs a New Roof
Not every issue means full replacement, but these are the signals that usually point toward it rather than a patch or spot repair:
- Shingles that are cracked, curling, or missing granules across large sections rather than one isolated spot
- Rust staining at nail heads, flashing, or metal vent stacks
- Soft or spongy spots underfoot, or sagging visible from the ground or from inside the attic
- Daylight visible through the roof deck from inside the attic
- Leaks that show up in more than one location during heavy wind-driven rain
- Granules collecting in gutters in quantities beyond normal light shedding
- A roof approaching or past its manufacturer-rated service life for this climate
- Visible storm damage — lifted shingles, torn ridge caps, or exposed underlayment after a wind event
Choosing a Roofing System for This Climate
Material choice matters more here than in a milder, less exposed climate. The table below is a general comparison — actual performance depends on installation quality as much as the product itself, and we'll go over which option fits a given roof's pitch, sun exposure, and budget during the estimate rather than pushing one product for every home.
| Material | How It Handles Wind & UV | Salt Air Considerations | Typical Service Life Here |
|---|---|---|---|
| Architectural asphalt shingle | Good with proper fastening pattern and wind-rated products; UV-stable granules slow fading and brittleness | Needs corrosion-resistant fasteners and flashing near the bay | 20–25 years with correct install |
| Standing seam metal | Excellent wind uplift resistance when properly fastened; reflects UV well and stays cooler | Requires a coastal-rated finish to resist salt corrosion long-term | 40–50+ years |
| Concrete or clay tile | Very good wind performance when correctly fastened to deck; extremely UV-stable | Low corrosion risk for the tile itself, but underlying fasteners and flashing still need attention | 40–50+ years |
| Standard 3-tab asphalt shingle | Lower wind rating than architectural shingles; more prone to early UV-driven brittleness | Same fastener concerns as architectural shingle, less overall durability | 15–18 years in this climate |
What a Correct Installation Actually Involves
The visible shingle, metal panel, or tile layer is the smallest part of what determines whether a roof holds up here. Most leaks and premature failures trace back to what's underneath or around it.
Tear-Off and Deck Inspection
A full tear-off lets us see the actual condition of the roof deck — soft spots, rot, or prior water damage that a re-roof over the old layer would simply bury. Any damaged sheathing gets replaced before anything new goes down; installing new roofing over a compromised deck just guarantees a shorter service life for the new material, no matter how good it is.
Underlayment and Secondary Water Barrier
Given the wind-driven rain exposure here, we treat underlayment as a real line of defense, not a formality. A quality synthetic underlayment, combined with a properly installed secondary water barrier, gives the roof a backup layer of protection if wind ever drives water past the primary roofing surface — the kind of detail that separates a roof that survives a bad storm from one that doesn't.
Flashing
Flashing at chimneys, skylights, vent penetrations, and roof-to-wall transitions is where the majority of leaks actually start on an older roof. We use corrosion-resistant flashing appropriate for this area's air quality and take the time to integrate it properly with the underlayment rather than relying on sealant alone to keep water out.
Fastening for Wind
Fastening pattern and fastener quality matter as much as the roofing material itself in a wind-exposed area like this. We follow manufacturer specifications for wind-rated installation and use corrosion-resistant fasteners, since a fastener that starts rusting years down the road is a hard thing to catch early and an easy thing to prevent up front.
Ventilation
Proper intake and exhaust ventilation keeps the roof deck cooler and drier, which matters in a climate where attic temperatures can climb dramatically under direct summer sun. It also protects the underside of the roof deck from moisture buildup during Florida's humid stretches of the year.
Our Installation Process
- On-site assessment. We inspect the existing roof, deck condition, ventilation, and any storm damage, and take measurements for an accurate estimate.
- Material selection. We go over the options that fit the home's exposure, pitch, and budget, with honest trade-offs for each.
- Permitting. We pull the required permit through the local building department and schedule the inspections that go with it.
- Tear-off and deck repair. Old roofing comes off, the deck is inspected, and any damaged sheathing is replaced.
- Underlayment and flashing installation. The moisture barrier and flashing go in first, since this layer determines whether the roof actually stays dry in wind-driven rain.
- Roofing material installation. The chosen material is installed to manufacturer specification, with attention to wind-rated fastening pattern and exposure.
- Ventilation check. Intake and exhaust ventilation are confirmed to be working correctly before close-out.
- Final walk-through. We review the completed roof with the homeowner, go over care and warranty details, and answer any questions before we leave.
Permitting and Code Compliance in Pinellas County
A full roof replacement in Safety Harbor requires a building permit, and the completed work has to meet Florida Building Code wind-load requirements for this part of the Gulf Coast. That means the roofing system, underlayment, and fastening pattern all have to be installed and documented to a standard an inspector will sign off on — not just to a standard that looks finished from the ground. We handle the permit application and coordinate the required inspections as part of the job, so the homeowner isn't left navigating county paperwork alone. A properly permitted and documented new roof can also support a wind mitigation inspection afterward, which is worth discussing with your insurance agent since it can affect windstorm premiums.
Cost Factors for a Safety Harbor Roof
Every roof prices out differently, but these are the main variables that move the number up or down. We don't quote figures without seeing the roof in person, since pitch, access, and existing damage alone can shift a bid significantly.
| Factor | Why It Matters Here |
|---|---|
| Roof size and complexity | More valleys, dormers, and penetrations mean more flashing detail and more labor |
| Pitch and access | Steep or hard-to-access roofs take longer and require more safety setup |
| Material choice | Metal and tile cost more up front but often need less maintenance and hold up better to wind and UV over time |
| Deck condition | Rot or soft sheathing found during tear-off adds repair cost not visible before the old roof comes off |
| Wind-rated upgrades | Enhanced fastening and secondary water barrier coverage cost more than minimum-code installation but reduce storm risk |
| Permit and inspection scope | Permit fees and required inspections are a fixed part of the job, not an optional add-on |
Why Hire a Crew That Already Works Safety Harbor
A roofer who mostly works jobs further inland isn't wrong about roofing in general — they're just working from a different set of defaults. Fastener specs, flashing choices, and underlayment coverage that are adequate on a typical inland roof are often undersized for what a bay-side Pinellas County home takes on over a storm season. A crew that's already worked in Safety Harbor and the surrounding area has seen which details actually fail here, not just which ones fail in a manufacturer's spec sheet.
There's also a practical side to local experience: knowing which streets tend to have mature tree canopy that shades and slows roof drying, which sections of the city sit closer to the water and see more corrosion, and how local permitting and inspection scheduling actually works day to day. That familiarity shows up in fewer surprises and a smoother job from estimate to final walk-through.
Maintaining a New Roof in This Climate
A correctly installed roof still benefits from basic upkeep given the conditions here:
- Keep gutters clear so water isn't backing up under roof edges during heavy rain
- Trim back tree limbs that overhang the roof, both for wind debris risk and to reduce shaded, slow-drying areas
- Schedule a periodic inspection of flashing points and fastener condition, especially after major storms
- Address any small leak signs immediately rather than waiting for the next dry stretch
- Have the roof checked after any named storm that brought sustained winds to the area, even if no damage is visible from the ground
If your roof is showing its age, took a hit in a recent storm, or you're just planning ahead, we're glad to take a look and talk through honest options for your Safety Harbor home. Reach out for a free, no-pressure estimate using the form below.