 Clearwater Window
 Safety Harbor sits along the north shore of Old Tampa Bay, and that waterfront position shapes how siding ages here more than most homeowners expect. A repair job that would hold up fine a few miles inland can fail early on a home exposed to the Bay — not because the material is bad, but because the climate and the water are doing more work on it, faster. Hurricane-force winds, wind-driven rain, intense year-round UV, and salt air off the Bay all load extra stress onto siding, seams, trim, and fasteners. When we repair siding in Safety Harbor, we're not just patching a visible problem — we're making sure the fix actually holds against everything this specific location throws at it.
Why Safety Harbor Homes Put Extra Demand on Siding Repair
A siding repair is only as good as its match to the conditions it has to survive. In Safety Harbor, that means accounting for direct Bay exposure on waterfront and near-waterfront properties, plus the broader Pinellas County climate that affects every home in the area regardless of how close it sits to the water. Homes here span a real range of ages and construction styles — older bungalows and mid-century houses closer to downtown, newer construction further out — and each brings its own repair considerations, from outdated fastening patterns to siding materials that were never suited to this climate in the first place. A repair plan that ignores any of that tends to fail again within a few years.
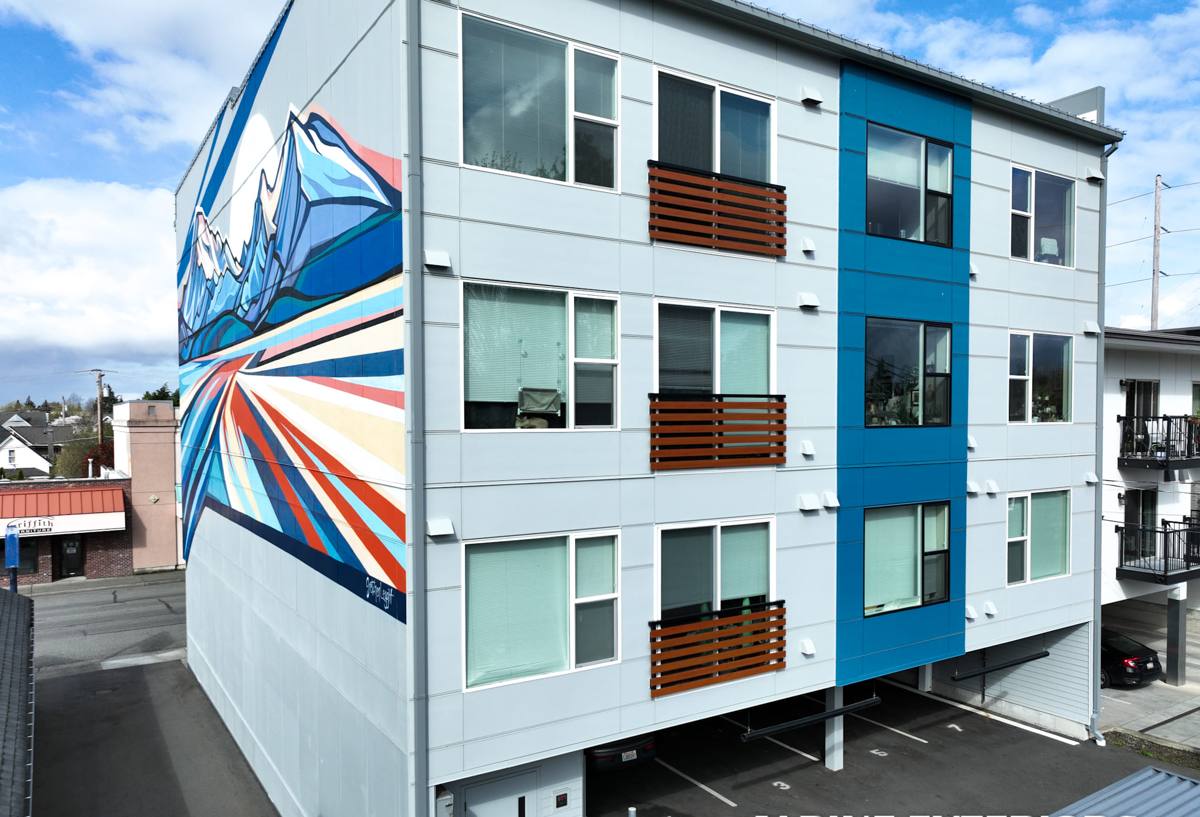
What the Climate Actually Does to Siding Here
Four things drive most of the siding damage we see in Safety Harbor, and a repair that doesn't account for all four is a temporary fix at best.
Hurricane-Force Wind
Sustained high winds put direct pressure on siding panels and pull at fastener points, seams, and corner trim. Loose or under-fastened sections that survive a normal year can fail outright during a real wind event, and wind is also what drives water sideways into joints that were only ever designed to shed rain moving straight down.
Wind-Driven Rain
Rain that hits a wall at an angle behaves very differently than rain falling straight down. It works its way into laps, seams, and trim lines, and any gap in flashing or caulking becomes an entry point. This is where a lot of "small" siding damage actually starts — not as a visible crack, but as water finding its way behind a panel through a joint that was never sealed correctly to begin with.
Intense, Nearly Year-Round UV
Florida sun breaks down caulk, sealants, and unstabilized finishes faster than in most of the country, and it does it across nearly the whole calendar year rather than a few summer months. UV damage often shows up first as chalking, fading, or brittle caulk lines — small signs that the protective layer around a repair, or around the siding itself, is starting to give out.
Salt Air
Salt-laden air off Old Tampa Bay accelerates corrosion in fasteners, flashing, and any exposed metal trim, and it works on the material constantly, not just during storms. A corroding fastener loses holding strength over time and can open a small gap right where it penetrates the siding — exactly the kind of detail that turns a minor repair into a recurring one if it isn't addressed correctly the first time.
Where Repair Problems Actually Start
In our experience, the failure point is rarely the flat field of the siding itself. It's the transitions — corner trim, window and door flashing, the bottom edge near grade or a deck, and any seam where two pieces meet. Those are the spots that take the most wind load, the most direct rain impact, and the most fastener stress, and they're the first places we check on any repair call in Safety Harbor.
Signs Your Siding Needs Repair, Not Just Paint
A fresh coat of paint can hide a lot of surface wear, which is part of why siding problems in this climate often go further than they should before anyone calls a contractor. Watch for:
- Panels that feel soft, spongy, or flex when you press on them near the bottom edge or around penetrations
- Visible gaps, cracks, or separation at seams, corners, or trim boards
- Caulk that's cracked, shrunk, or pulled away from a joint
- Streaking or staining below seams and fastener lines, which often points to water tracking behind the panel
- Bubbling, peeling, or chalking paint concentrated in one area rather than spread evenly across the wall
- Fasteners that are rusted, backed out, or leaving a visible ring of corrosion
- A musty smell or soft drywall on the interior side of an exterior wall
- Panels that have visibly warped, cupped, or pulled loose from the wall
Any one of these on its own might be minor. Several together, or any sign near a window, door, or roofline, usually means water has already found its way past the surface.
What a Correct Siding Repair Job Involves
Diagnosing the Actual Cause
Visible damage is a symptom, not the diagnosis. Before we touch anything, we trace the problem back to its source — a failed flashing detail, a gap in the water-resistive barrier, a fastener pattern that was never adequate for wind exposure this close to the Bay. Repairing the visible panel without fixing what let water in behind it just buys a few more years before the same spot fails again.
Checking for Hidden Moisture
Once a panel or section is opened up, we check the sheathing and water-resistive barrier behind it, not just the siding face. Wet sheathing or a compromised barrier changes the scope of the repair, and it's far better to find that during the initial work than to have it resurface as a bigger problem later.
Matching Material and Finish
A repair that doesn't match the surrounding siding in profile, texture, or finish stands out and can also create a mismatched moisture barrier at the seam. We match the existing material where that's realistic, and we're upfront when a section is old or discontinued enough that a broader repair or partial re-side is the more honest recommendation.
Correct Fastening and Flashing
This is where a repair actually earns its keep in a coastal, high-wind climate. That means corrosion-resistant fasteners at the right spacing and depth, flashing sequenced correctly with the water-resistive barrier, and sealant used at joints that actually need it rather than as a substitute for proper flashing.
Finish Work That Blends In
Caulking, priming, and painting to match the surrounding wall so the repair doesn't stand out, using products rated to hold up under Florida's UV and humidity rather than a generic exterior formulation.
Repair vs. Replacement: How We Make the Call
Not every siding problem calls for a full re-side, and not every problem should be patched. Here's how we typically think through it:
| Situation | Usually Points To |
|---|---|
| Isolated damage — one panel, one corner, storm impact | Targeted repair, assuming the sheathing behind it tests dry |
| Repeated failures at the same spot over the years | An underlying flashing or barrier issue that needs correcting, not another patch |
| Widespread soft panels, cupping, or moisture damage across multiple walls | Full or partial re-side, since the underlying material or original install is likely compromised broadly |
| Original siding is an aging wood-based or vinyl product | A repair may buy time, but replacement with a more climate-suited material is usually the better long-term value |
| Damage limited to caulk, trim, or paint with dry sheathing underneath | Minor repair and refinishing, no structural work needed |
Our Process, Start to Finish
- On-site inspection — we examine the damage, check surrounding areas and transition points, and test for hidden moisture behind the affected section
- Honest diagnosis — we explain what actually caused the damage, not just what it looks like on the surface
- Clear recommendation — targeted repair, broader repair, or replacement, with the reasoning laid out so you can make an informed call
- Material matching or sourcing — matching existing siding where practical, or discussing options when a match isn't realistic
- Repair work — corrected flashing and fastening, moisture-damaged material replaced, not just covered over
- Finish and cleanup — caulking, priming, and painting blended to the surrounding wall, site cleaned up before we leave
Why We Repair (and Replace) Only With James Hardie
When a repair calls for new material — whether it's a single damaged section or enough of the wall that matching isn't realistic — we use James Hardie fiber cement. We don't install LP SmartSide, vinyl, primed spruce, cedar, or other engineered wood products, and the reasoning comes directly from what this climate does to siding over time. Wood-based products absorb moisture into their fiber structure and swell, cup, and delaminate at cut edges as they cycle between Florida's downpours and intense sun. Vinyl doesn't absorb water the same way, but it isn't dimensionally stable under heat and UV, and its seams create their own points where wind-driven rain can collect.
Fiber cement is dimensionally stable and doesn't swell or wick the way wood-based materials do, which matters when a repair has to survive hurricane season after hurricane season with minimal maintenance. Hardie's factory-applied ColorPlus finish is also engineered to resist the fading and chalking that intense, near year-round Florida UV causes in field-applied paint. That combination — a non-combustible, moisture-stable material with a finish built for this sun, backed by a strong transferable warranty when installed to spec — is why it's the only material we put on a Safety Harbor home, whether we're patching one section or handling a full re-side.
Why Hiring a Crew That Works Safety Harbor Regularly Matters
Manufacturer repair guidelines are written for average conditions, and a Bay-front or near-waterfront property in Safety Harbor rarely qualifies as average. A crew that doesn't work this area regularly can patch the visible damage and still miss the underlying cause — a flashing detail that needed correcting, a fastener pattern that was never adequate for the wind exposure at that specific wall, a moisture path that will just resurface a few feet away next season. We work Safety Harbor and the surrounding Clearwater area on a regular basis, so we're not guessing at how a particular wall orientation, siding age, or construction style tends to hold up here over time. That local pattern recognition is what keeps a repair from becoming a repeat call.
Ready When You Are
If you've noticed a soft spot, a cracked seam, or staining below a joint on your Safety Harbor home, it's worth having it looked at before the next storm season tests it further. We offer free, no-pressure estimates for siding repair in Safety Harbor — use the form below to get a time on the schedule.