 Clearwater Window
 Countryside Homes Face a Real Climate Test
Countryside is one of Clearwater's established inland residential communities, and while it sits back from the immediate coastline, "inland" in Pinellas County still means hurricane-force winds, punishing year-round UV exposure, wind-driven rain, and salt air carried in off Tampa Bay and the Gulf. A roof here isn't just shedding water — it's holding together under wind uplift pressure during named storms, cycling through daily heat expansion and contraction, and slowly breaking down under UV radiation that ages roofing materials faster than in most of the country. A new roof installed correctly for this environment behaves very differently over the next 20-30 years than one installed to a generic national standard.
That's the frame we bring to every new roof installation in Countryside: this isn't a cosmetic upgrade, it's a system that has to perform against a specific, demanding climate, year after year.
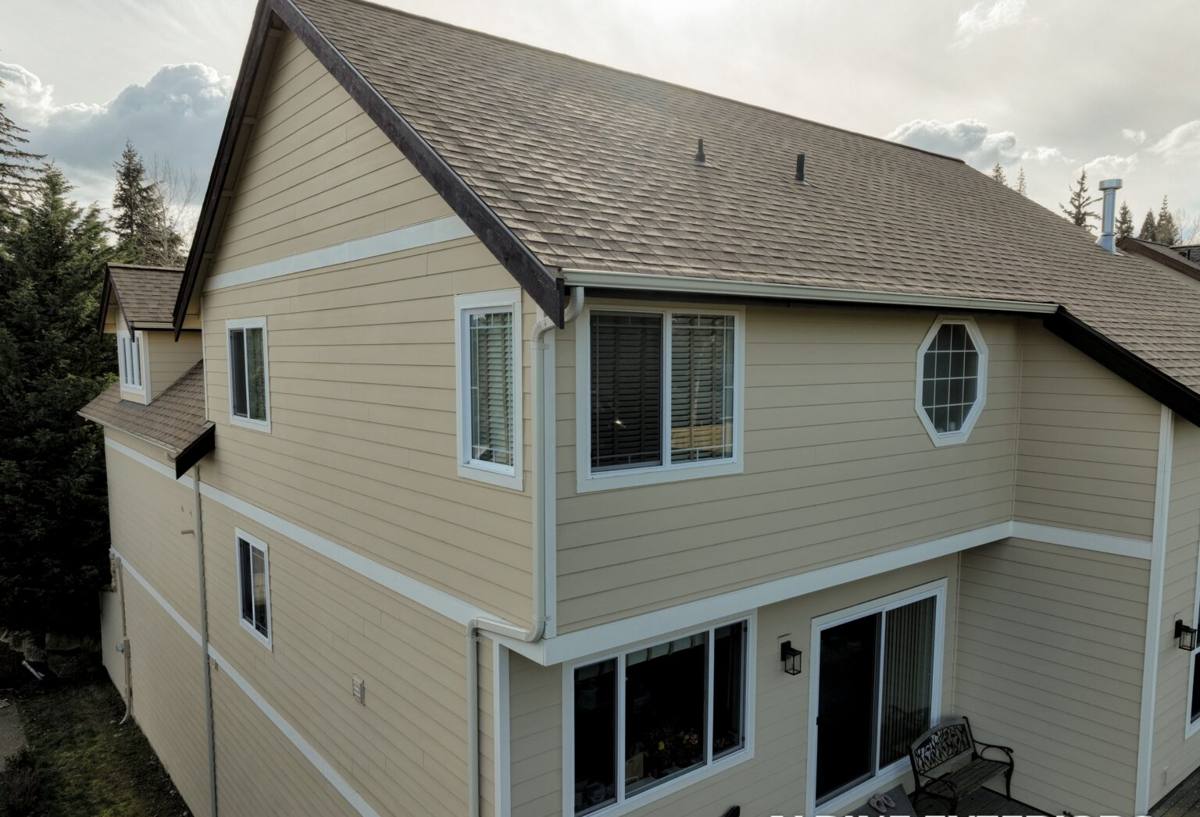
When It's Time for a New Roof, Not Another Repair
Most homeowners don't wake up one day and decide they want a new roof — they get there after enough small problems stack up. Common signs we see on Countryside homes include:
- Shingles that are cupping, curling, or losing granules in large patches, especially on south- and west-facing slopes that take the most sun
- Soft spots or sagging in the roof deck, which usually means moisture has already reached the wood
- Repeated leaks in different spots after storms, rather than one isolated fixable area
- Visible daylight or staining in the attic, or a noticeable jump in cooling costs
- A roof approaching or past the age where insurance carriers start requiring inspections or non-renew coverage
Once a roof is failing in multiple places, patch repairs stop being cost-effective and start becoming a series of expenses that never quite solve the underlying problem. A full new roof installation resets the clock and lets us correct anything the original installation got wrong.
What a Correct New Roof Installation Actually Involves
A new roof is more than shingles nailed to plywood. Every layer underneath the visible surface is doing real work, and skipping or rushing any of them is where premature failures come from.
Tear-Off and Deck Inspection
We remove the old roofing down to the deck rather than layering over it. This lets us inspect every sheet of decking for rot, delamination, or soft spots from past leaks — problems that are completely hidden until the old roof comes off. Any compromised decking gets replaced before anything new goes down; installing new roofing over a weak deck just guarantees a shorter lifespan and a harder repair later.
Underlayment and Water Barrier
In a climate with wind-driven rain, the underlayment matters almost as much as the shingles themselves. We install a synthetic or self-adhering underlayment sized to current Florida Building Code requirements, with self-adhering membrane at eaves, valleys, and other vulnerable transitions where wind can force water sideways and upward under the roof covering.
Flashing Details
Flashing around chimneys, skylights, walls, and roof-to-wall transitions is where the majority of leaks actually originate, not in the open field of shingles. Correct flashing is formed and installed to shed water in the right direction and sealed with materials rated for sustained UV and heat exposure — not general-purpose caulk that dries out and cracks within a couple of seasons.
Fastening for Wind Uplift
Every fastener pattern, nail placement, and adhesive strip on a roof is part of its wind-uplift rating. In Pinellas County, roofing has to meet High-Velocity Hurricane Zone-adjacent wind standards under the Florida Building Code, and that means fastening schedules aren't optional details — they're inspected and documented.
Ventilation
An attic that can't breathe traps heat and moisture, which shortens the life of the roofing above it and drives up cooling costs below it. Balanced intake and exhaust ventilation is part of a correct installation, not an upgrade.
Choosing the Right Roofing Material for Countryside
There's no single "best" roofing material — the right choice depends on your home's structure, your budget, and how you weigh upfront cost against long-term maintenance. Here's how the main options compare for a Countryside home:
| Material | Typical Lifespan | Wind/Storm Performance | Maintenance Considerations |
|---|---|---|---|
| Architectural asphalt shingle | 20-30 years | Good, with high-wind-rated products and correct fastening | Lowest upfront cost; periodic inspection recommended after major storms |
| Concrete or clay tile | 40-50+ years | Excellent when properly fastened; individual tiles can crack from impact | Heavier structure requirement; cracked tiles need prompt replacement to protect underlayment |
| Standing seam metal | 40-60 years | Very strong wind and wind-driven rain performance | Higher upfront cost; minimal ongoing maintenance |
We walk every homeowner through these trade-offs honestly rather than pushing whatever carries the best margin. If your home's roof structure and budget point toward asphalt shingle, we'll spec a high-wind-rated product and install it to the standard that gets the most life out of it — not the cheapest version available.
Permits, Wind Codes, and Inspections in Pinellas County
A full roof replacement in Clearwater requires a permit, and the installation has to meet current Florida Building Code wind-resistance requirements for our region. That includes documented fastening schedules, underlayment specifications, and, depending on scope, secondary water barrier requirements. Permitted work also means scheduled inspections during the process — which is a good thing for you as the homeowner, since it means a third party is verifying the work before it's covered up by finished shingles or tile.
We pull permits, coordinate inspections, and handle the documentation as a standard part of every new roof installation. This also matters for insurance: a properly permitted and code-compliant roof is often what stands between you and a denied claim after storm damage, and it can affect your windstorm insurance premium through wind mitigation credits.
Our Installation Process, Step by Step
- On-site assessment — we inspect the existing roof, attic, and structure, and discuss material options based on your home and budget.
- Written estimate — a clear scope of work and pricing, with no vague allowances hiding future change orders.
- Permitting — we file for the roofing permit with the appropriate local building department before work begins.
- Tear-off and deck inspection — old roofing removed, deck inspected and repaired as needed.
- Underlayment and flashing installation — water barrier and all flashing details installed per code.
- Roofing material installation — shingles, tile, or metal installed to the fastening and wind-uplift specification for your material and roof pitch.
- Ventilation and final details — ridge vents, boots, and penetrations completed and sealed.
- Final inspection and cleanup — city or county inspection scheduled, job site cleaned and checked for debris, including a magnetic sweep for nails.
What a New Roof Costs — and What Changes the Price
Every roof is different, but the factors that move the price up or down are consistent. We give a firm written estimate after an on-site look — we don't quote sight-unseen and we don't believe in lowball numbers that turn into change orders once the tear-off starts.
| Cost Factor | Why It Matters |
|---|---|
| Roof size and number of stories | More square footage and steeper access increase labor time |
| Roof pitch and complexity | Multiple valleys, dormers, and hips take more time and material than a simple gable |
| Decking condition | Rotted or delaminated decking found during tear-off requires replacement |
| Material choice | Asphalt shingle, tile, and metal carry very different material and labor costs |
| Ventilation upgrades | Adding or correcting attic ventilation adds modest cost but extends roof life |
A Quality Installation Checklist
Whether you hire us or another contractor, here's what should happen on any correctly installed new roof in this climate:
- Full tear-off to the deck, with the deck inspected and photographed before covering
- Underlayment and fastening rated for your local wind zone, not a minimum national default
- Self-adhering membrane at eaves, valleys, and roof-to-wall transitions
- Properly formed and sealed flashing at every penetration, chimney, and wall intersection
- Balanced attic ventilation confirmed, not assumed
- A pulled permit and a scheduled final inspection
- A written warranty covering both materials and workmanship, explained in plain language
Why Hiring a Crew That Already Works in Countryside Matters
Roofing code, permitting offices, and typical construction details vary from one Florida county to the next, and even between cities within Pinellas County. A crew that regularly works in Countryside and the surrounding Clearwater area already knows the local permitting process, has a working relationship with inspectors, and has seen how homes of this area's common construction styles hold up over time. That familiarity shortens the permitting timeline, reduces surprises during inspection, and means we're specifying materials and fastening patterns that are already proven for the wind exposure and UV load this specific part of Pinellas County sees every year.
It also means we're not guessing at what "normal" looks like for your neighborhood — we know what a sound roof deck typically looks like on a home of this age and style locally, and what corners tend to get cut when a roof was installed quickly or cheaply the first time around.
If your Countryside home needs a new roof, we're happy to take a look and give you a straightforward, no-pressure estimate — just fill out the form below to get started.